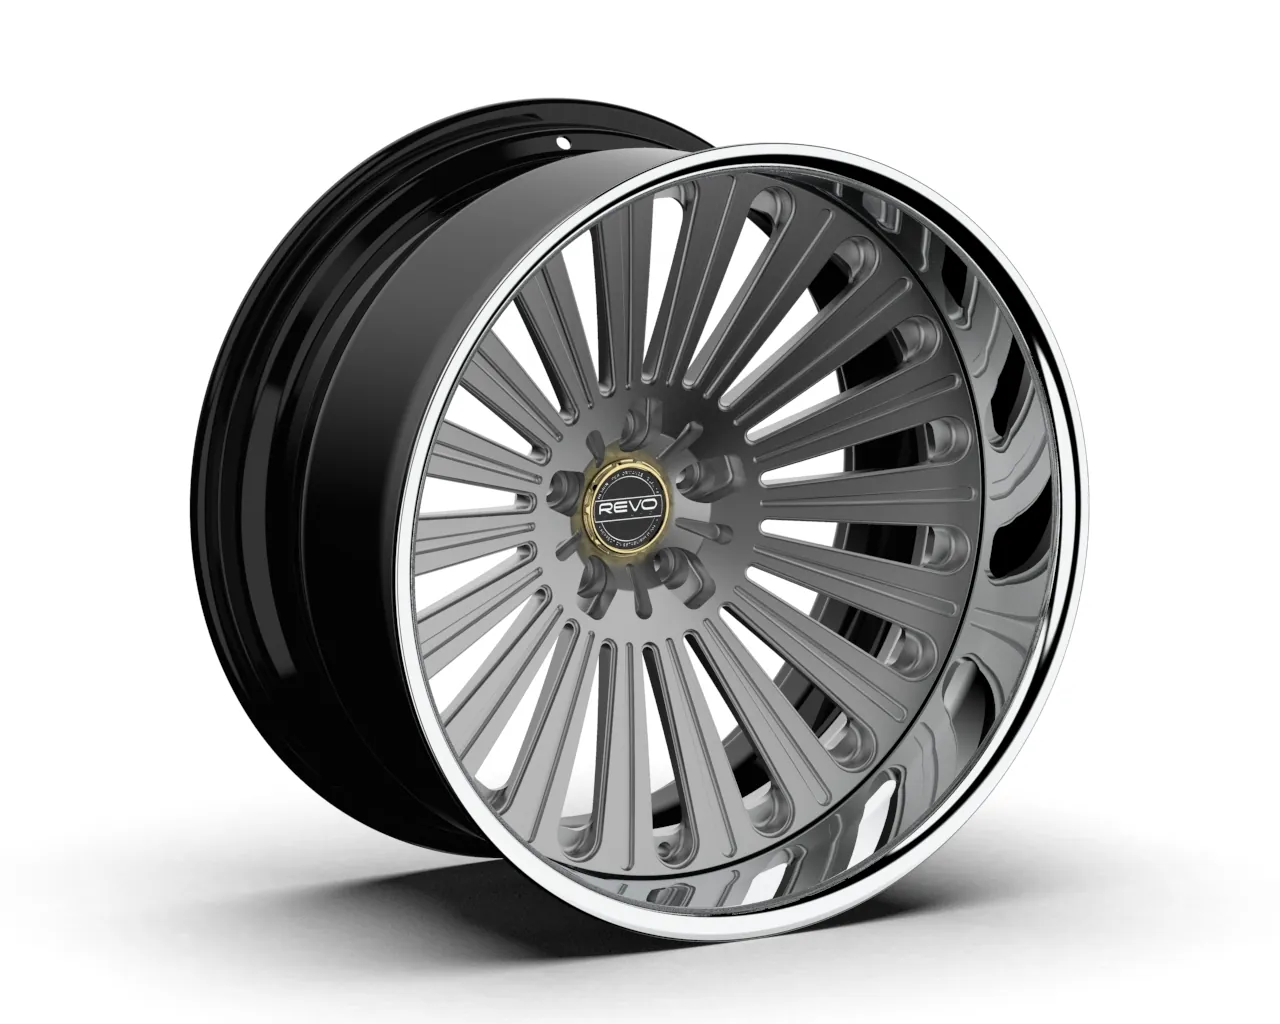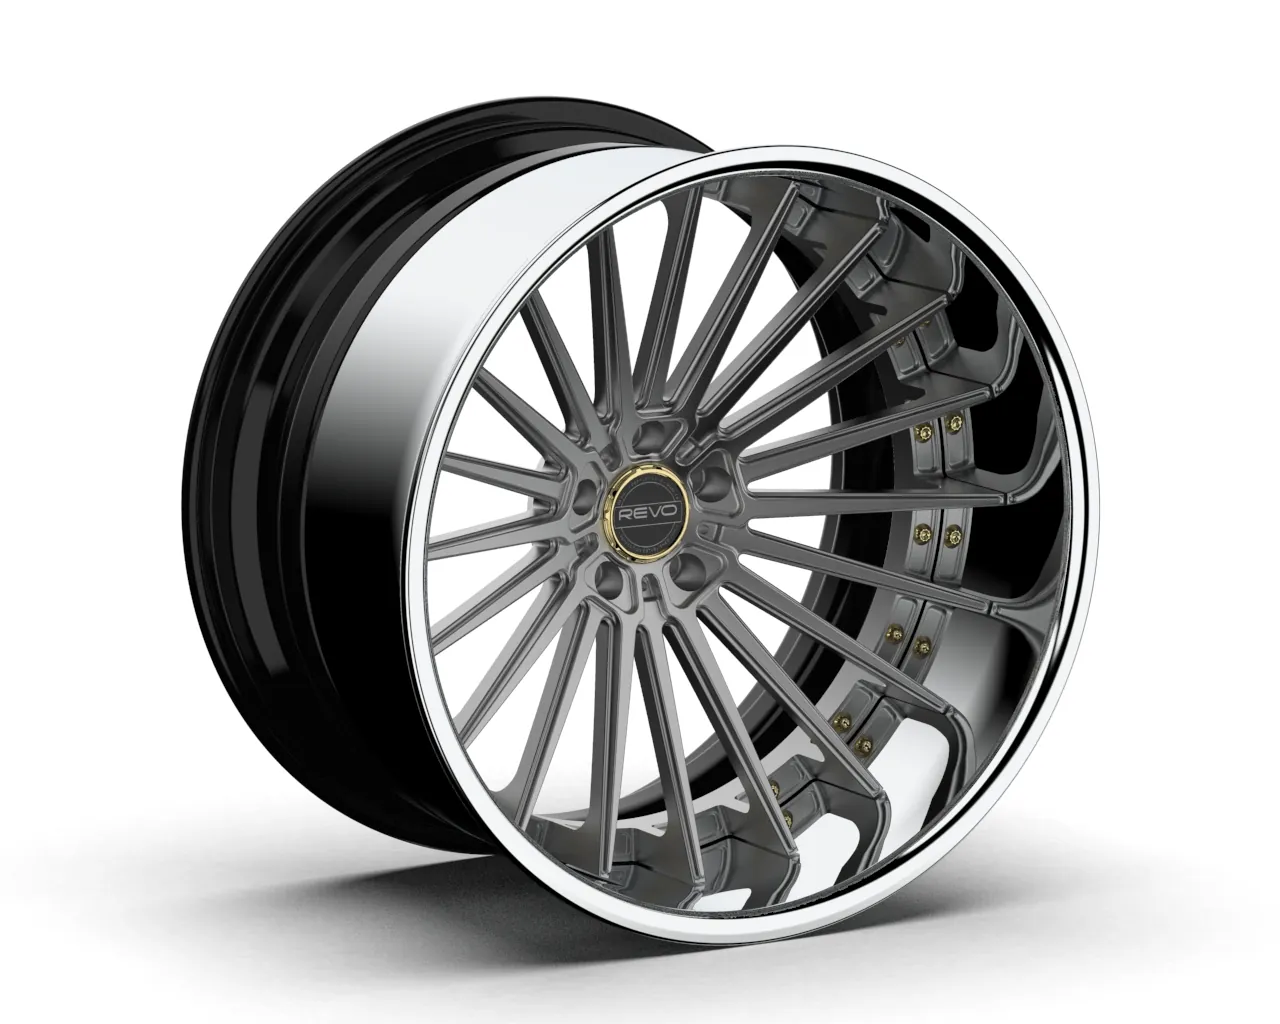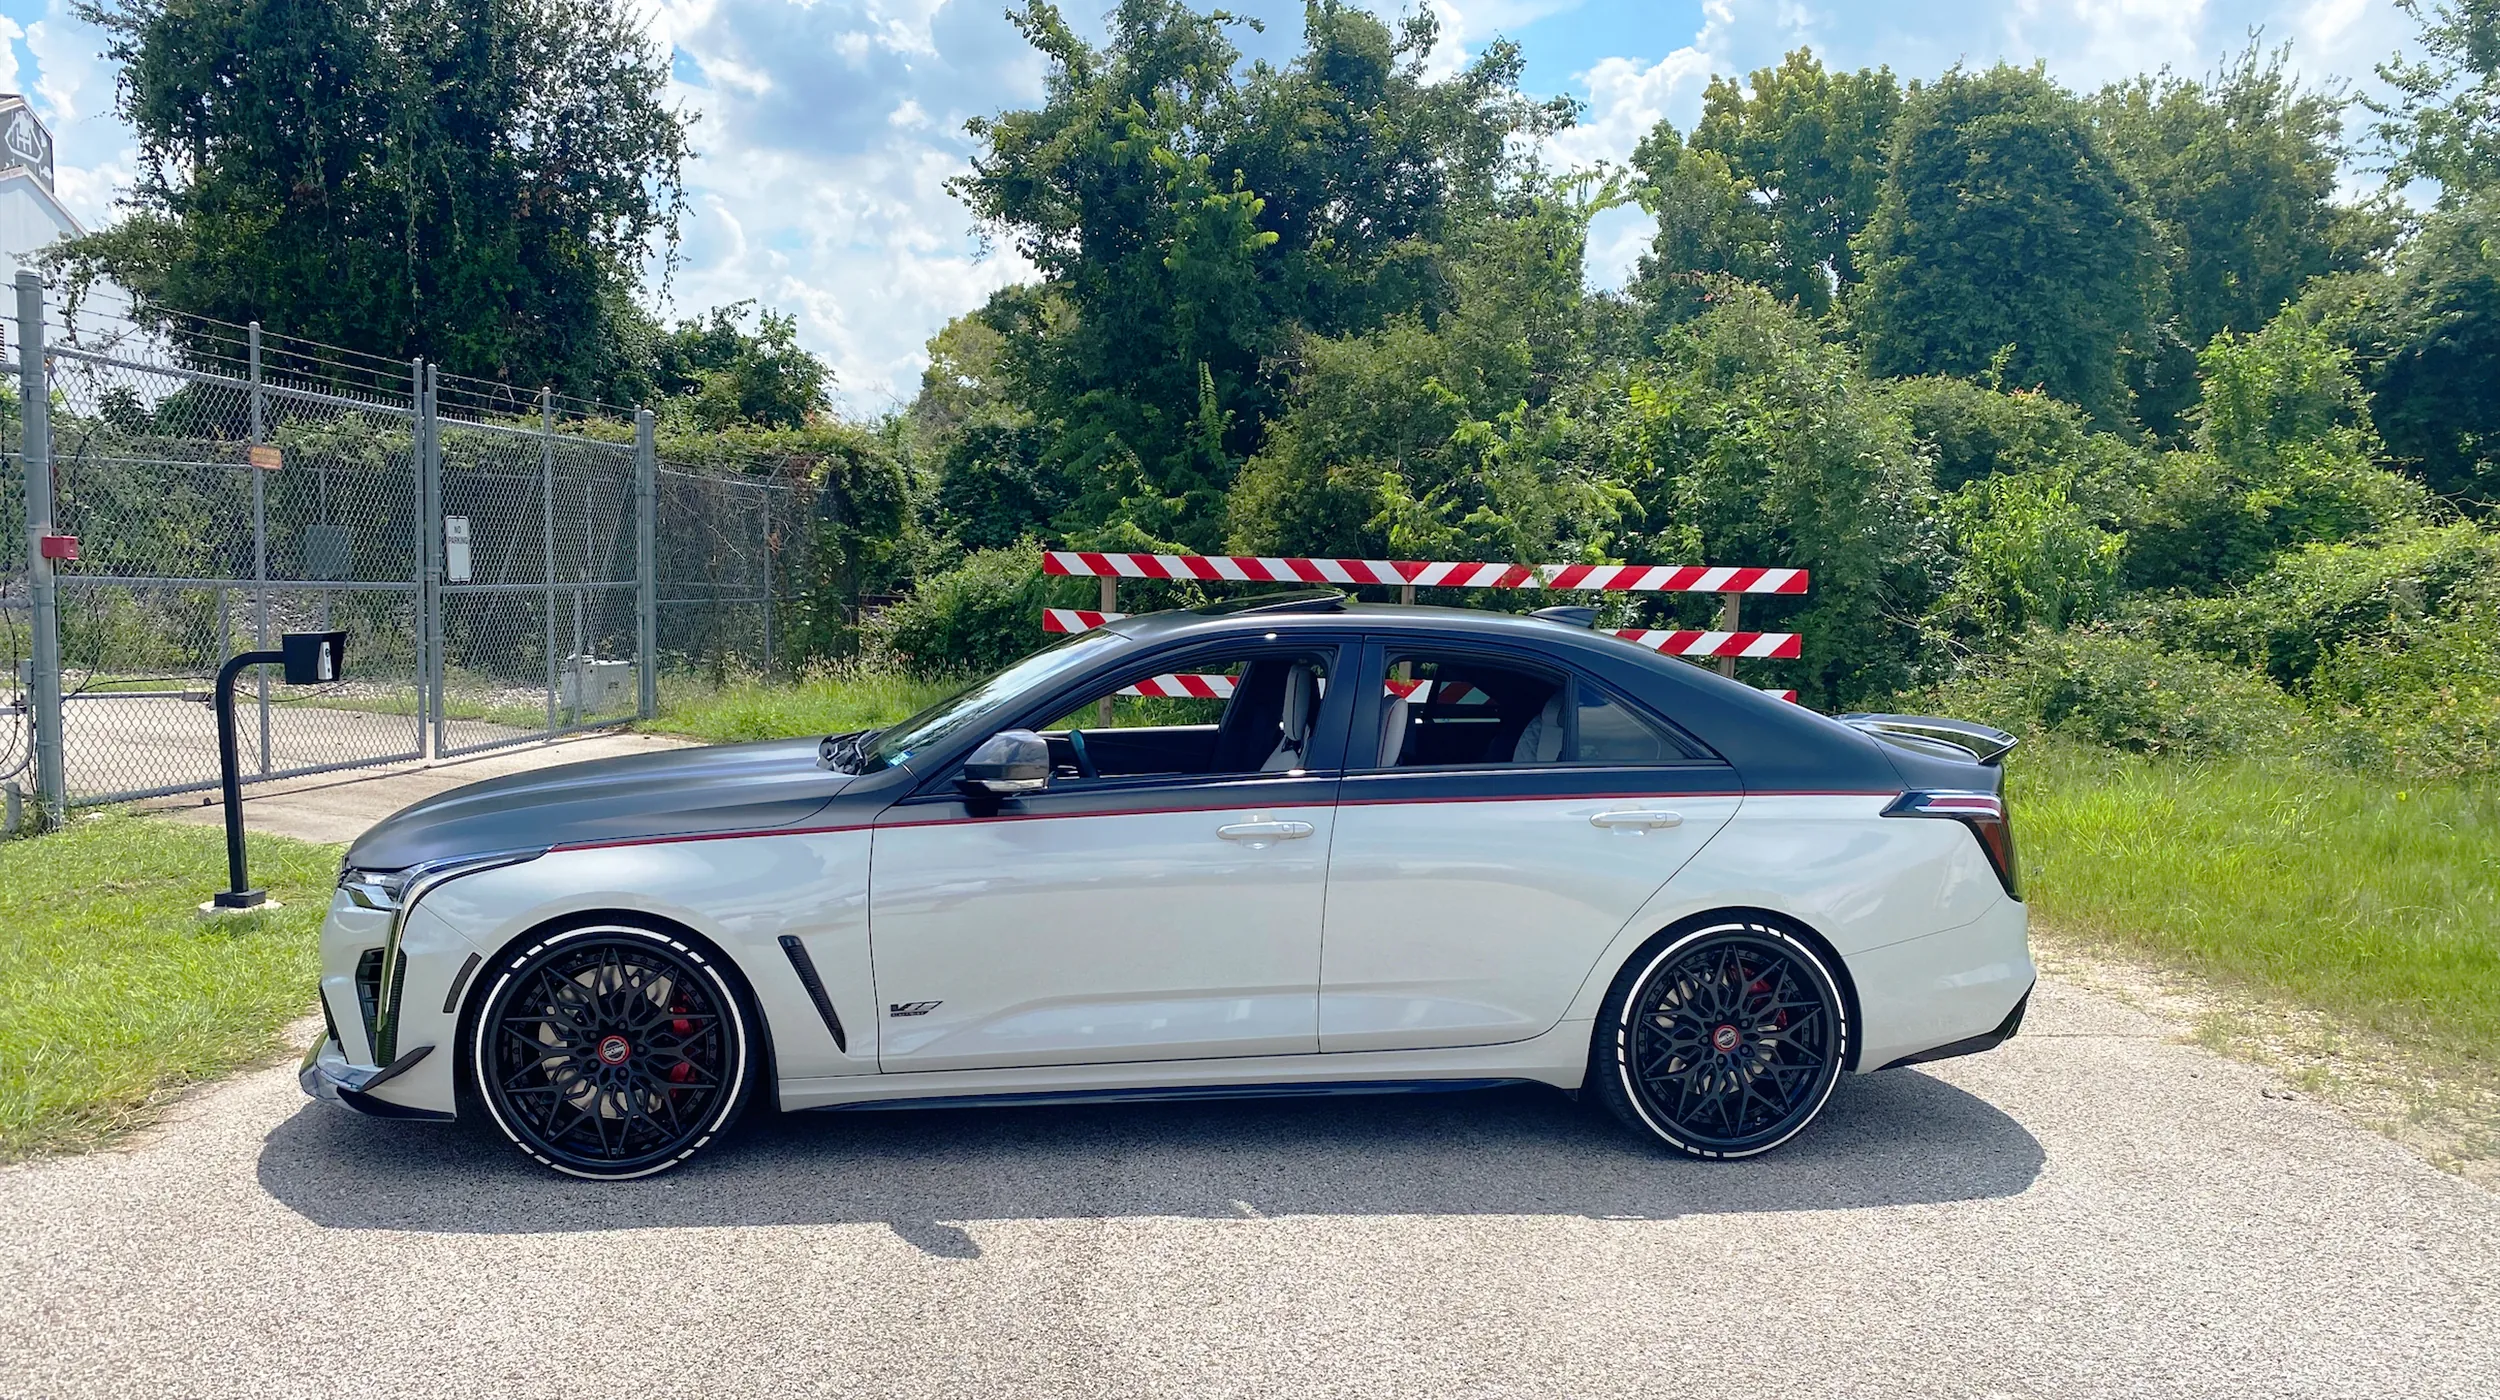
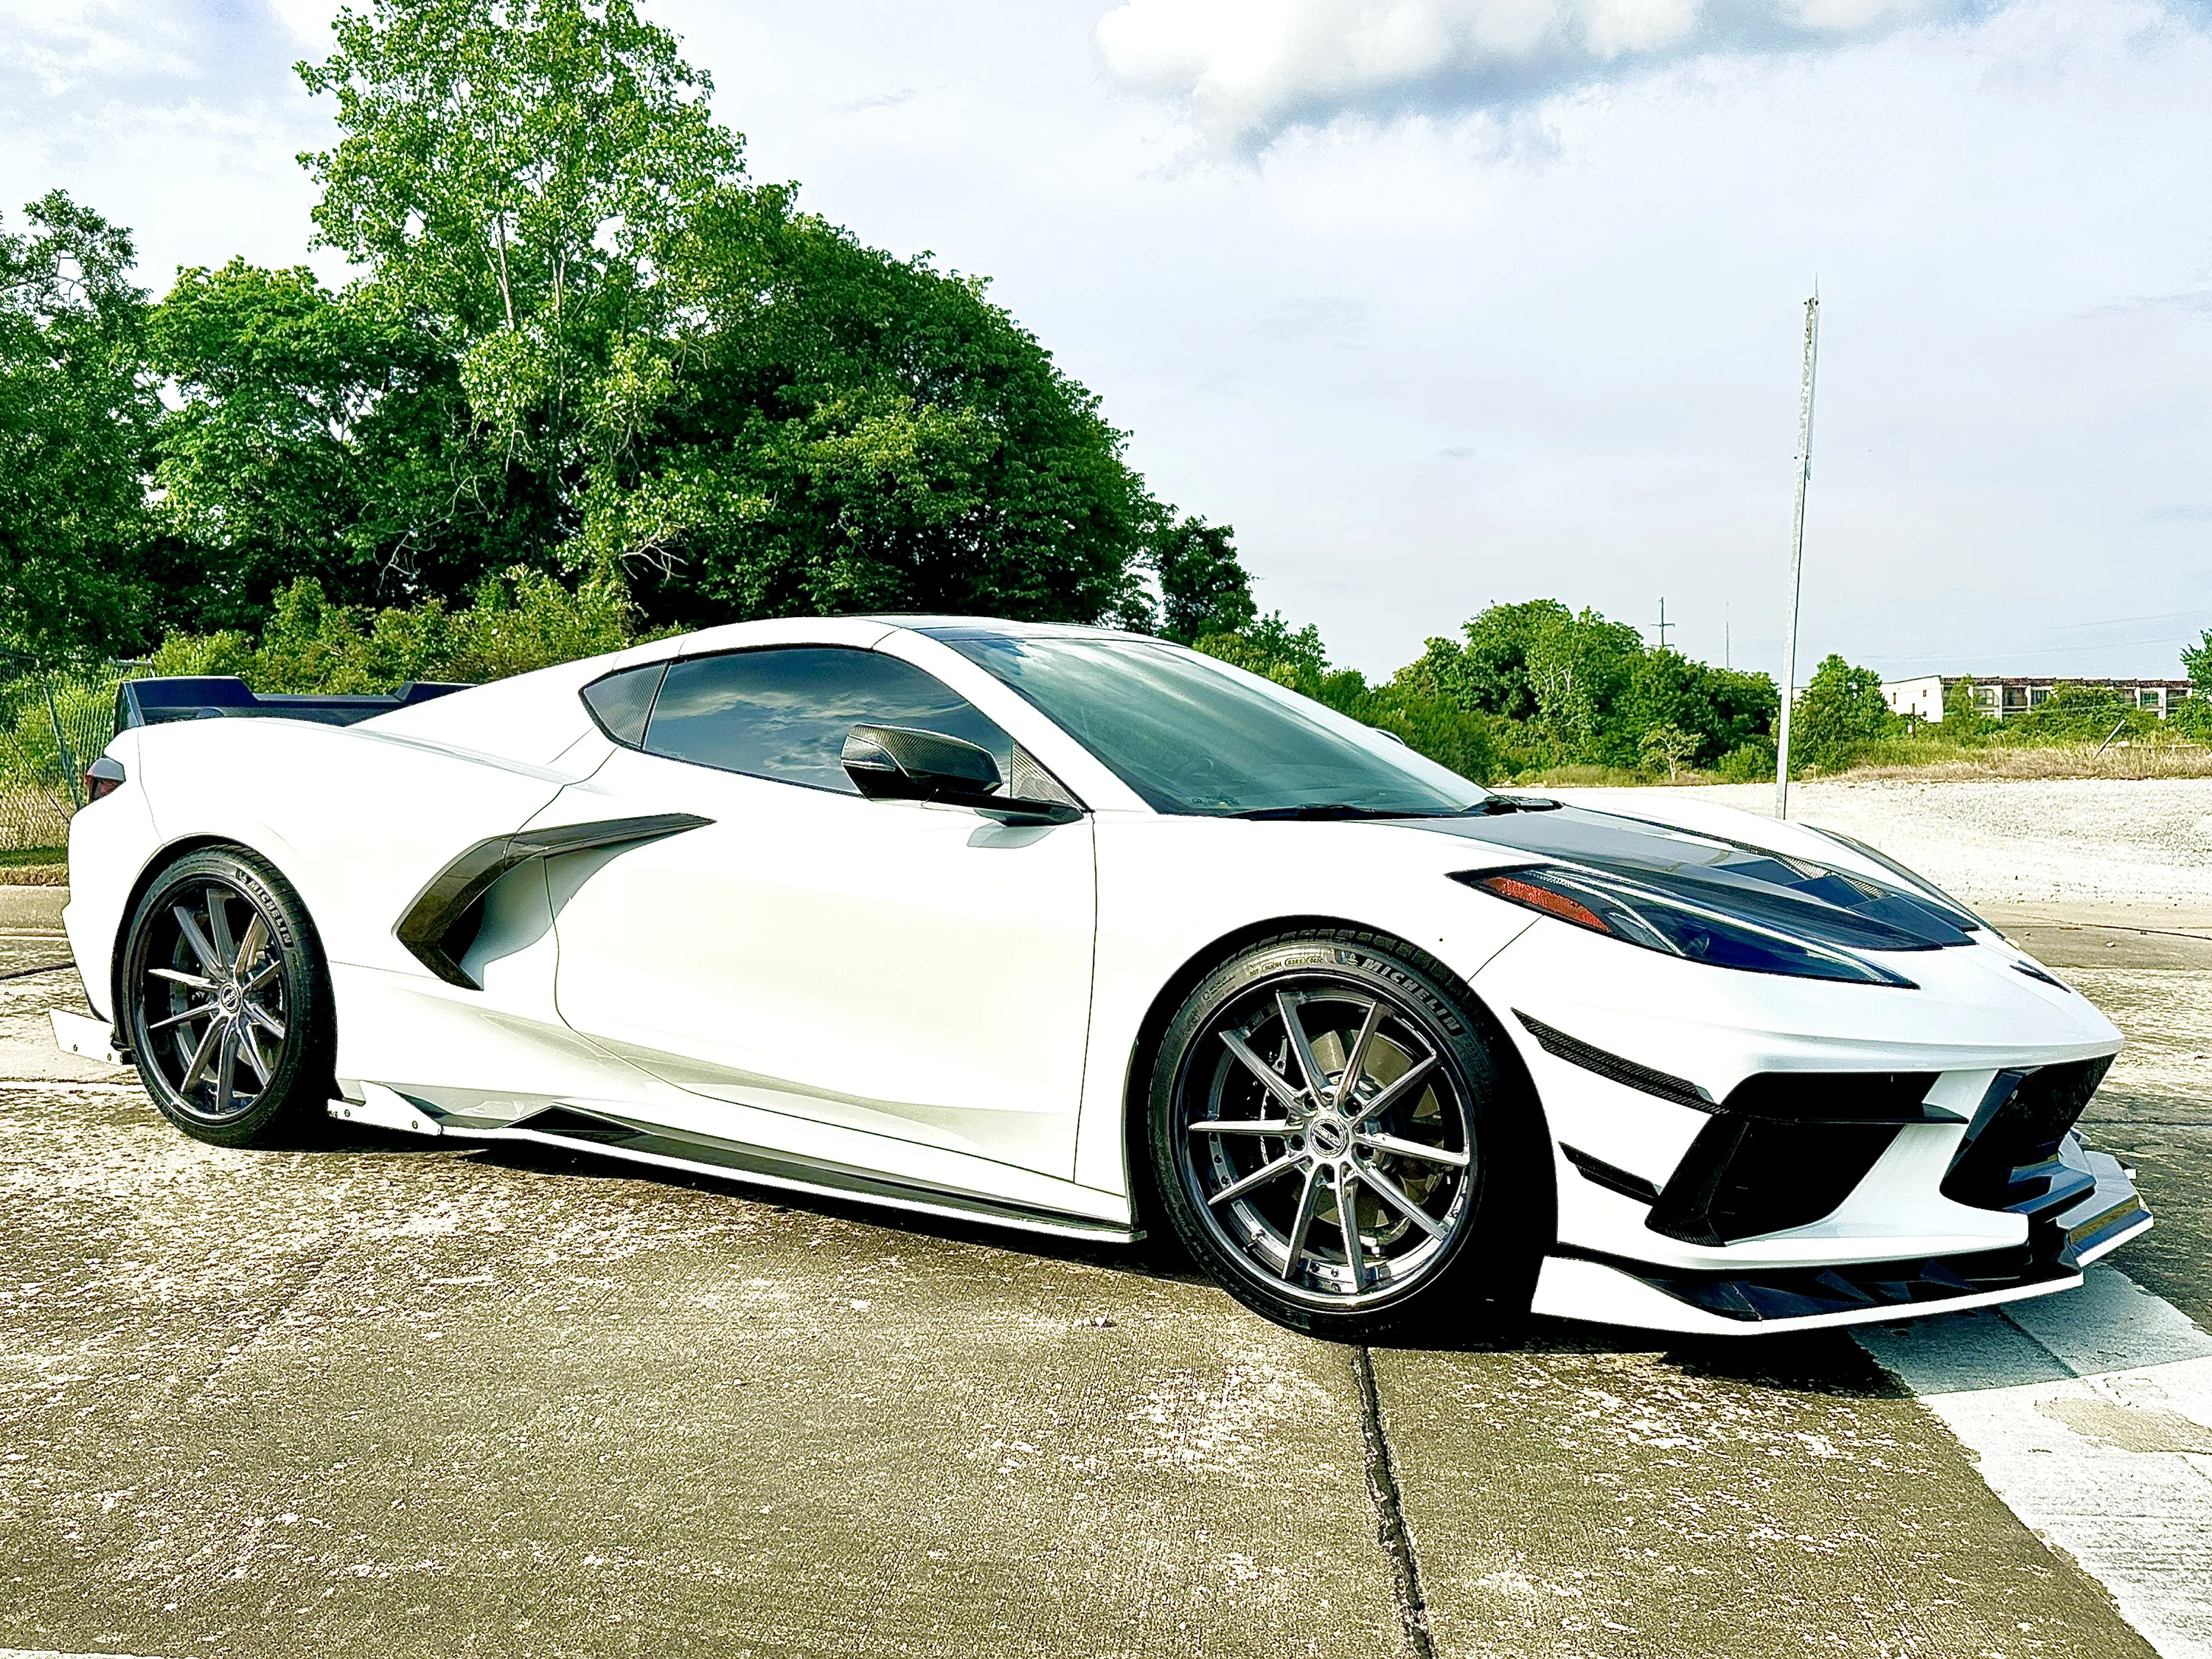
Wheel fitment is not a single number. It is the set of dimensions and clearances that lets a wheel and tire package mount correctly, clear the vehicle through its full range of motion and suit the way the vehicle is used. A wheel can share the right diameter or bolt pattern with another car and still be completely wrong for the build in front of you.
That is why the best fitment decisions start with the exact vehicle and move through the checks in a deliberate order. The goal is not merely to make a wheel bolt on. It is to confirm the wheel sits flat, clears brakes and suspension, works with the chosen tire and carries the load it will actually see.
The short answer
Before ordering, verify nine things: vehicle details, bolt pattern, center bore, diameter and width, offset or backspacing, brake clearance, tire pairing, load rating and mounting hardware. Then review every modification that changes the space around the wheel. Tire Rack similarly identifies bolt pattern, center bore, offset, width and load capacity as core fitment requirements in its wheel-fit overview.
Use the current setup as a reference when it is known to work, but do not copy numbers blindly. Tire size, brake package, suspension, ride height and bodywork can change the answer. If one of the critical details is unknown, the fitment is not confirmed yet.
1. Start with the exact vehicle, not the vehicle name
Write down the year, make, model, trim and drivetrain first. Then add the factory brake package, current wheel and tire sizes, and any suspension or body changes. Two trims that wear the same badge can have different brake calipers, hub dimensions, load requirements or available factory wheel sizes. A vehicle that looks stock can also have coilovers, a lift, a brake kit or a previous owner’s wheel conversion that changes the usable space.
The details do not need to be complicated. A photo of the existing wheel, tire sidewall and brakes can be more useful than a vague description of the look you want. If the package is meant to replace a setup that already fits, record its width, offset, tire size and where the outer tire sits relative to the fender. If the current setup rubs, note when it happens: at full lock, over a bump, under compression or with passengers aboard.
2. Confirm the bolt pattern and mounting face
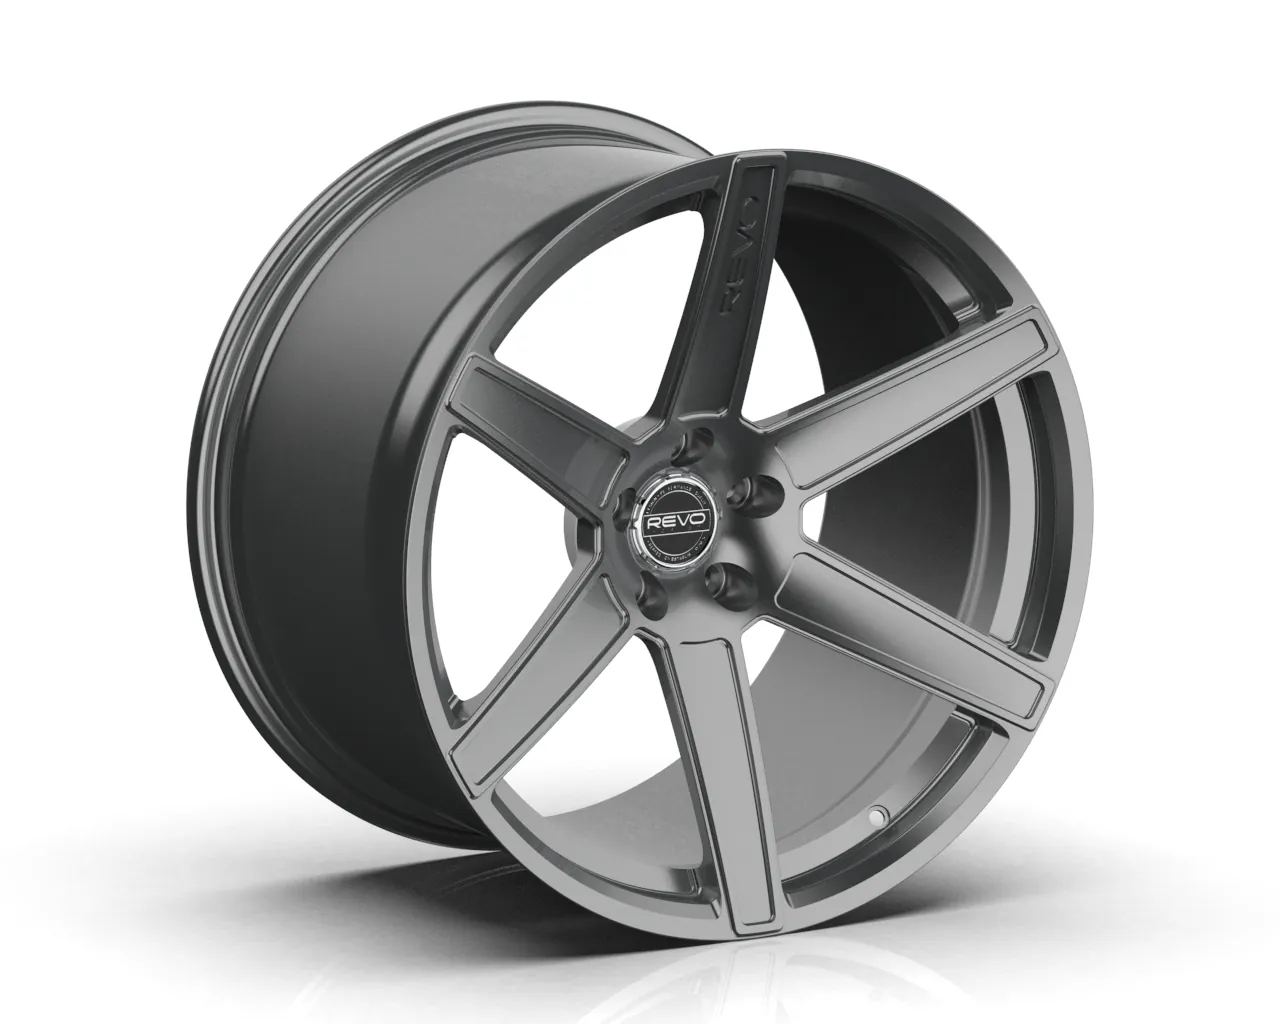
The bolt pattern describes how many fasteners hold the wheel and the diameter of the circle they form. A pattern written as 5x114.3, for example, means five mounting positions on a 114.3 mm circle. It must match the vehicle exactly. Patterns that look close are not interchangeable, and forcing the wrong pattern can damage the wheel, studs or fasteners.
Use REVO’s bolt-pattern measurement guide when you are identifying an existing wheel, then verify the vehicle application rather than trusting a tape measure alone. Also inspect the mounting face. The wheel must sit flat against the hub with no clips, corrosion, dirt or cap flange holding it away. The Wheel and Tire Council installation guidance says to test the wheel at each mounting location and confirm it mounts flush without touching brake or suspension components.
A wheel that does not sit flush can create a misleading torque reading. That is not a cosmetic issue. Stop there and identify the obstruction or incompatibility before adding a tire or putting the vehicle back on the ground.
3. Match the center bore and intended centering method
The center bore is the opening at the middle of the wheel. It must clear the vehicle’s hub. A direct hub-centric fit uses a bore that closely matches the hub pilot. Some aftermarket wheels have a larger shared bore and use a manufacturer-specified centering method. In either case, the bore, hub, hardware and wheel design need to be treated as one system.
A bore that is too small will not mount. A bore that is larger is not automatically a problem, but it needs an approved answer for how the wheel is located during installation. Read REVO’s hub-centric versus lug-centric wheel guide before assuming a larger bore needs a generic part. If a hub ring is specified, both the hub diameter and wheel-bore diameter matter, and the ring must sit flush rather than protruding from the mounting surface.
4. Choose diameter and width as a pair
Diameter determines the tire bead-seat diameter and influences the radial room around the brakes. Width changes the tire shape, inner clearance, outer position and the available lip or face proportions. Neither dimension can be chosen in isolation. A 20-inch wheel can be narrow or wide, and either version can need a very different offset to fit the same vehicle.
Start with the tire plan. The tire manufacturer publishes an approved rim-width range for each tire size. A tire may physically mount on several widths, but the chosen wheel still has to work with the desired sidewall profile, fender room, suspension room and intended use. REVO’s wheel size and tire size guide explains why a matching diameter does not settle the width or clearance question.
Wheel width is measured between the bead seats, not from outer lip to outer lip. If you are measuring an existing wheel, use the right reference points. The wheel-width guide shows the difference, which matters when you are trying to repeat or compare a setup accurately.
5. Use offset and backspacing to place the wheel
Offset describes the relationship between the wheel centerline and the mounting pad. Backspacing describes the distance from the inboard wheel edge to the mounting surface. They both help describe where the wheel sits, but their meaning changes with width. A number that worked on an 8.5-inch wheel cannot simply be carried to a 10-inch wheel without recalculating the inner and outer position.
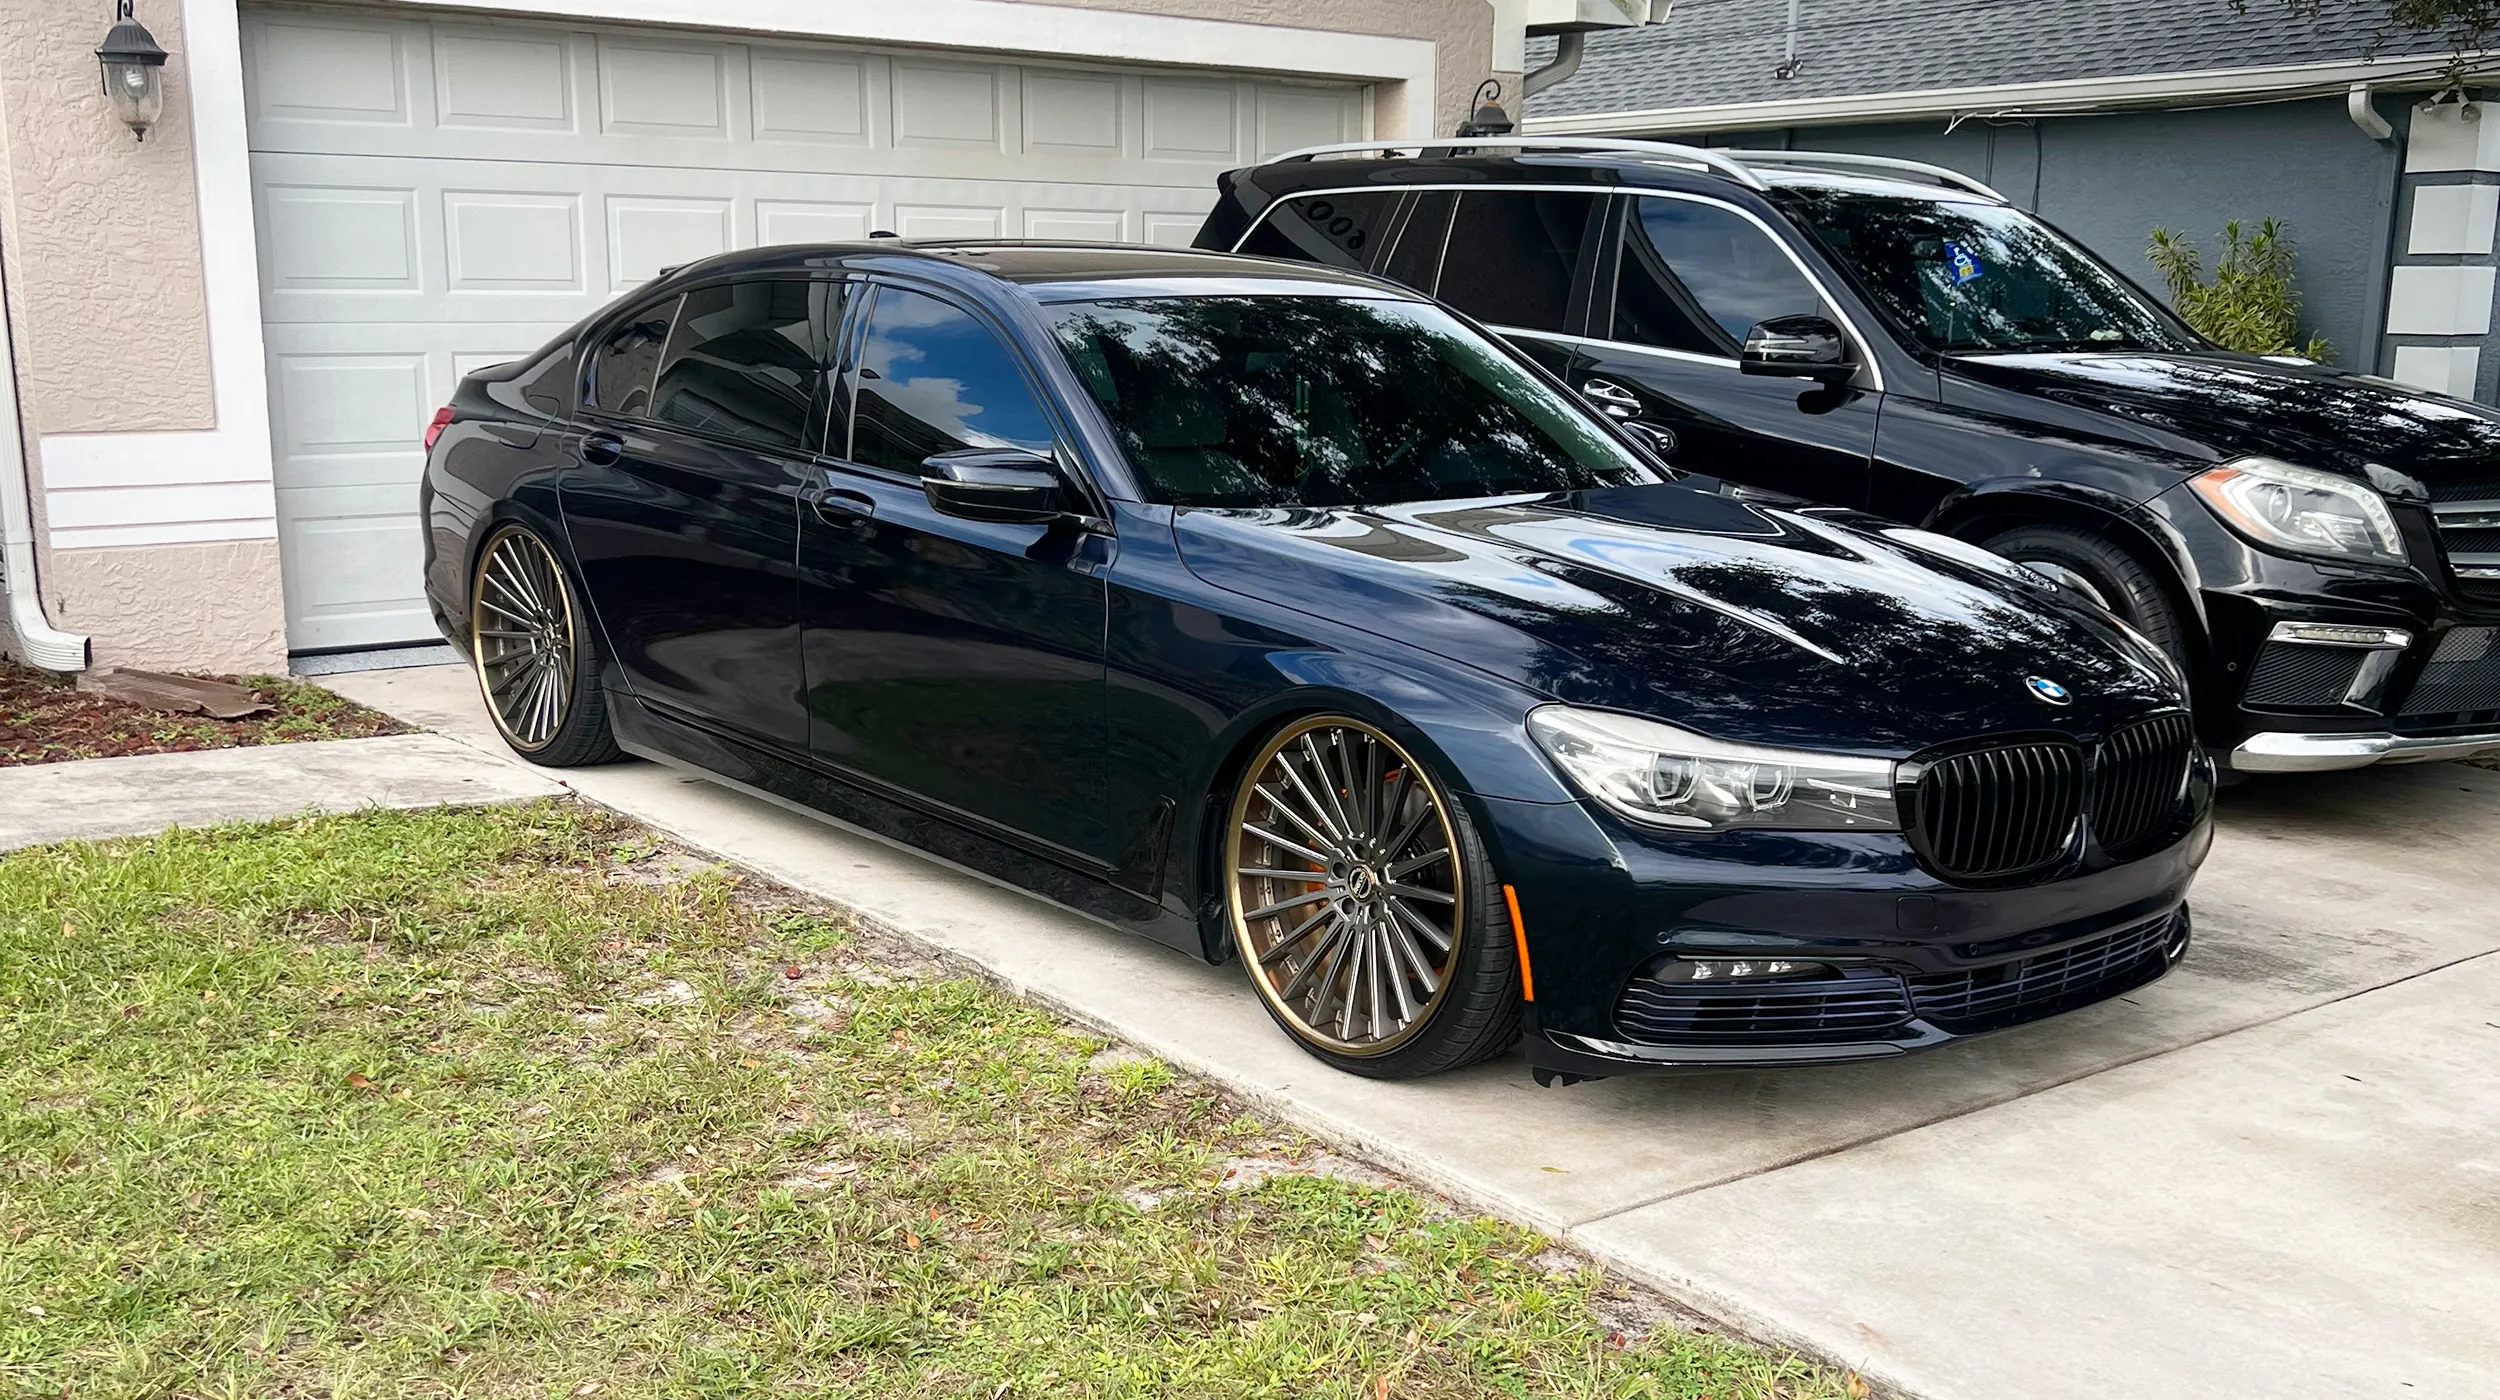
More positive offset usually moves the wheel inward. Less positive or negative offset usually moves it outward. Either direction can create a problem: inward movement can reduce strut, control-arm or brake clearance; outward movement can place the tire closer to the fender and change the way it travels under steering and compression. KMC’s wheel specifications guide makes the same point, noting that small offset changes affect fender, suspension and overall stance.
Compare the new wheel against a known setup, including the tire. Use REVO’s offset and backspacing calculator to translate the proposed change into inner and outer movement, then use the offset versus backspacing guide for the limits of that comparison. The calculator helps with the math. It cannot see a particular brake caliper, coilover spring perch or fender liner.
6. Check brake clearance by profile, not diameter alone
Large brakes create two different clearance questions. The rotor needs radial room inside the barrel, and the caliper needs space behind the spokes and wheel face. A larger diameter can help with the first question, but it does not guarantee the second. Two wheels with the same diameter and width can have very different spoke profiles.
This is especially important for factory performance brakes, carbon-ceramic packages and aftermarket kits. Tire Rack’s brake-clearance explanation notes that the rotor and caliper shape must be compared with the space inside the wheel, and that diameter alone does not assure clearance. Bring the exact brake information into the fitment conversation, including any planned upgrade.
A proper test fit happens before tires are mounted. The Wheel and Tire Council guidance calls for checking that the back of the wheel does not contact a caliper, suspension component, rivet or other obstruction, then rotating it by hand before moving to the remaining locations. If there is any contact, do not machine the wheel or use a spacer as a quick fix for an unknown package.
7. Confirm tire clearance through motion
A wheel can clear while the vehicle is parked and still rub on the road. The tire is usually the largest moving part in the wheel well, and its section width, shoulder shape and overall diameter influence what happens at steering lock and suspension compression. Tire clearance needs to be checked inside and outside: suspension, liner and steering parts on one side, then fender, bumper and bodywork on the other.
Front and rear should be evaluated separately. On the front, inspect full left and right steering lock with the vehicle supported and again under vehicle weight. On the rear, look at clearance as the suspension compresses. The Wheel and Tire Council guidance specifically calls for these loaded checks and for inspecting wheel balance weights as well as the tire itself.
Lowering springs, coilovers, air suspension, lift kits, wide fenders, alignment settings and spacers change this picture. So does a tire choice that is only slightly wider or taller than the reference setup. A fitment that was comfortable on a stock car can become marginal after one additional modification.
8. Verify load rating and intended use
Load rating is the maximum weight one wheel is engineered to support. It is separate from wheel diameter, construction label and tire load index. For a fast initial check, compare the wheel’s exact rating with the vehicle’s heavier gross axle weight rating divided by two. The rating must be specific to the wheel and size you are considering.
The wheel load-rating guide walks through that comparison in more detail. The Wheel and Tire Council is direct on the point: if a wheel’s load rating is not available, it should not be used on the vehicle. Trucks, SUVs, EVs, tow vehicles and builds carrying equipment deserve particular care because vehicle use can add demands that do not show up in a curb-weight conversation.
Tires also need to suit the vehicle and intended use. Check the tire manufacturer’s approved rim-width range, load index, speed rating and pressure guidance. Wheel and tire compatibility is not something to eyeball from sidewall height or a catalog photo.
9. Finish with hardware and installation checks
Correct hardware is part of the fitment, not an accessory selected at the end. Lug nuts and bolts need the right thread diameter, pitch, length and seat shape for the wheel and vehicle. Conical, ball and flat seats are not interchangeable. A wheel can appear to tighten while the seat is wrong, which can damage the wheel or create an unsafe clamp load.
Clean the hub and wheel mounting faces, start the fasteners by hand and follow the vehicle manufacturer’s torque specification with an accurate torque wrench. Do not use a generic torque value from another model. The Wheel and Tire Council guidance also stresses correct thread, pitch and seat, and advises inspecting the studs and mounting surfaces before installation.
A final road check still matters. Listen for contact, feel for vibration and recheck fastener torque as the vehicle and wheel manufacturer instructions require. A new vibration is a reason to inspect the whole installation, not to assume balance is the only possible cause.
Bring the whole build into the decision
Fitment becomes much easier when the information is complete. Share the exact vehicle, existing wheel and tire setup, brake details, suspension changes, ride height, desired tire size, intended use and design direction. If you have photos of the current stance, brakes or clearance concern, include those too.
REVO specifies custom forged wheels around the car rather than asking a generic catalog size to do all the work. Browse the wheel collection for a design direction, compare construction options when deciding between a monoblock or modular build, then send the vehicle details through the fitment quote form. The result should be a wheel package that looks right and has documented answers for the measurements that matter.
Frequently asked questions
What does wheel fitment include?
Wheel fitment includes the bolt pattern, center bore, diameter, width, offset or backspacing, brake profile, tire match, load rating and mounting hardware. Vehicle modifications and intended use can change the correct answer for any of those checks.
Can I tell if wheels fit from the bolt pattern?
No. A matching bolt pattern is necessary, but it does not confirm center bore, offset, width, brake clearance, load capacity or tire clearance. Treat it as the first check, not the complete answer.
Do bigger wheels always clear bigger brakes?
No. Diameter can create more radial room, but caliper clearance also depends on the inner barrel and the shape behind the spokes. A wheel can be large enough in diameter and still touch a caliper.
Does a spacer fix wheel fitment?
A spacer changes where the wheel sits, which can solve one clearance problem while creating another. It does not correct the wrong bolt pattern, bore, load rating, hardware or brake profile. Confirm the whole package rather than using a spacer to force an unknown fit.
What should I send for a custom wheel fitment quote?
Provide the exact year, make, model and trim, current wheel and tire sizes, brake and suspension changes, desired tire plan, intended use and clear photos where helpful. Those details make a vehicle-specific recommendation possible.