
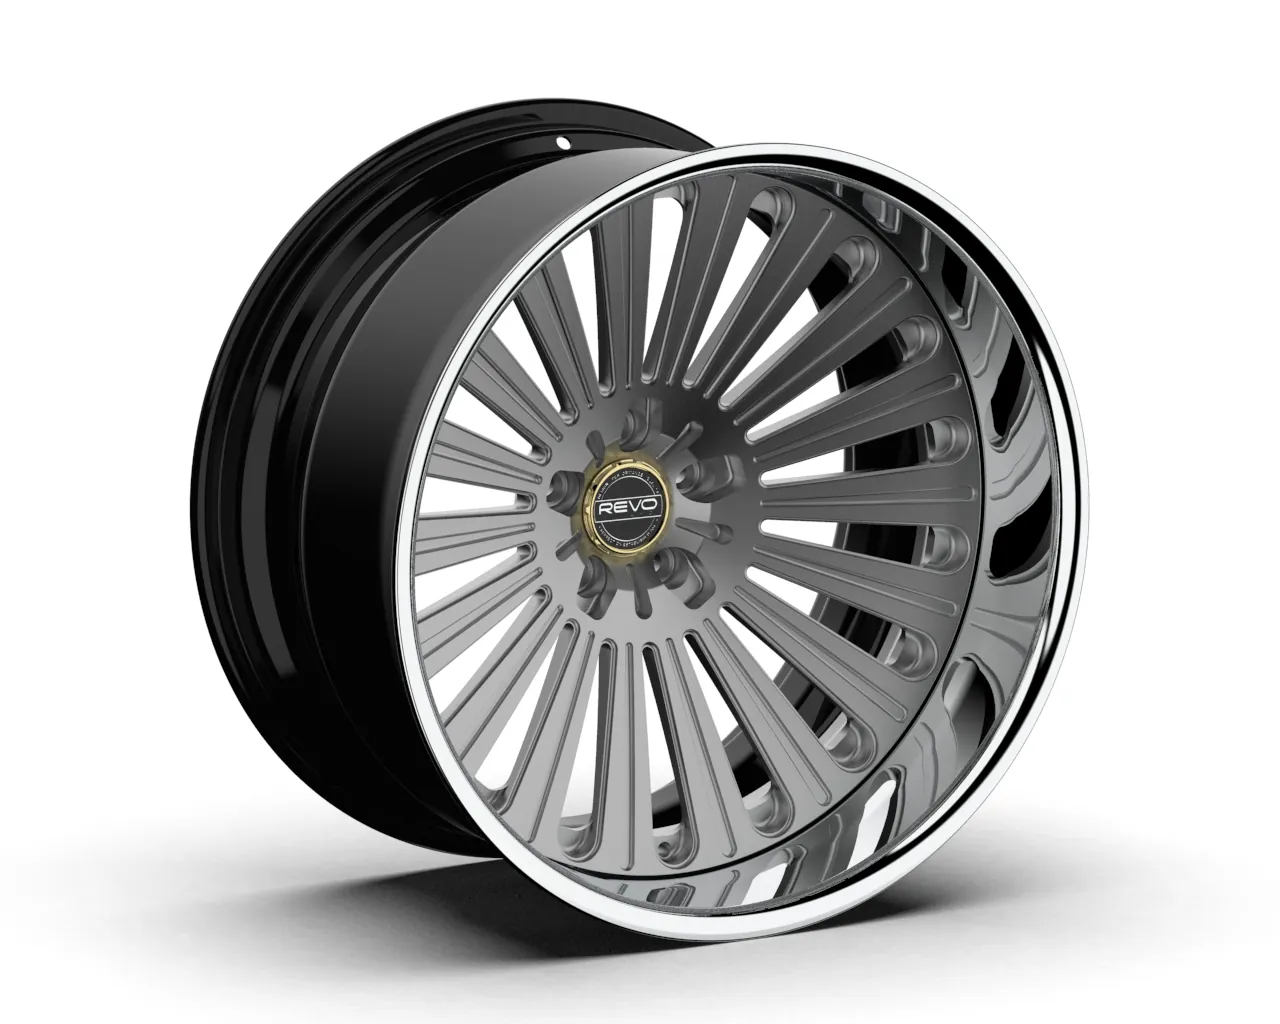
Wheel offset is one of those numbers that seems simple until a new set of wheels sits too close to a strut, catches a fender under compression or looks nothing like the reference photo. The number matters because it tells you where the wheel’s mounting surface sits relative to its centerline. That position, combined with wheel width and tire size, determines how the package lives inside the wheel well.
You do not need to become a suspension engineer to understand the basics. You do need a bare wheel, a straightedge, a measuring tape with millimeter markings and a clear idea of what the car needs to clear. This guide shows how to measure offset, how it relates to backspacing and where a custom build needs more than a single number before a wheel is ordered.
How to find your wheel offset before measuring
Start by checking the back of the wheel near the mounting pad or barrel. Many wheels have an offset marking cast or stamped into the metal, often written as an ET value such as ET35. That means the wheel has 35 mm of positive offset. A marking gives you a useful starting point, especially when you are checking a wheel that is already on the car.
Use the marking with the complete wheel size, not by itself. A label such as 20x9 ET35 tells you the diameter, nominal width and offset together. If the marking is missing, unreadable or the wheel has been repaired or modified, measure the full lip-to-lip width and backspacing before treating the number as final.
What wheel offset actually measures
Offset is the distance between the wheel’s hub mounting surface and the wheel centerline, expressed in millimeters. Tire Rack’s wheel offset overview breaks the idea into three familiar positions: positive, zero and negative offset.
Positive offset places the mounting surface toward the street side of the wheel. With the same wheel width, that pulls the wheel farther inward toward the brakes and suspension. Zero offset places the mounting surface on the centerline. Negative offset moves the mounting surface toward the back of the wheel and pushes the wheel outward, often creating the deeper-lip or more aggressive look associated with some trucks and custom builds.
Those descriptions are useful, but they are not a universal recipe. A 20 mm change in offset shifts the wheel 20 mm, yet the result also depends on width, tire shape, brake clearance, ride height and suspension travel. Treat offset as one dimension in a complete fitment plan, not a styling shortcut.
Offset and backspacing are related, not interchangeable
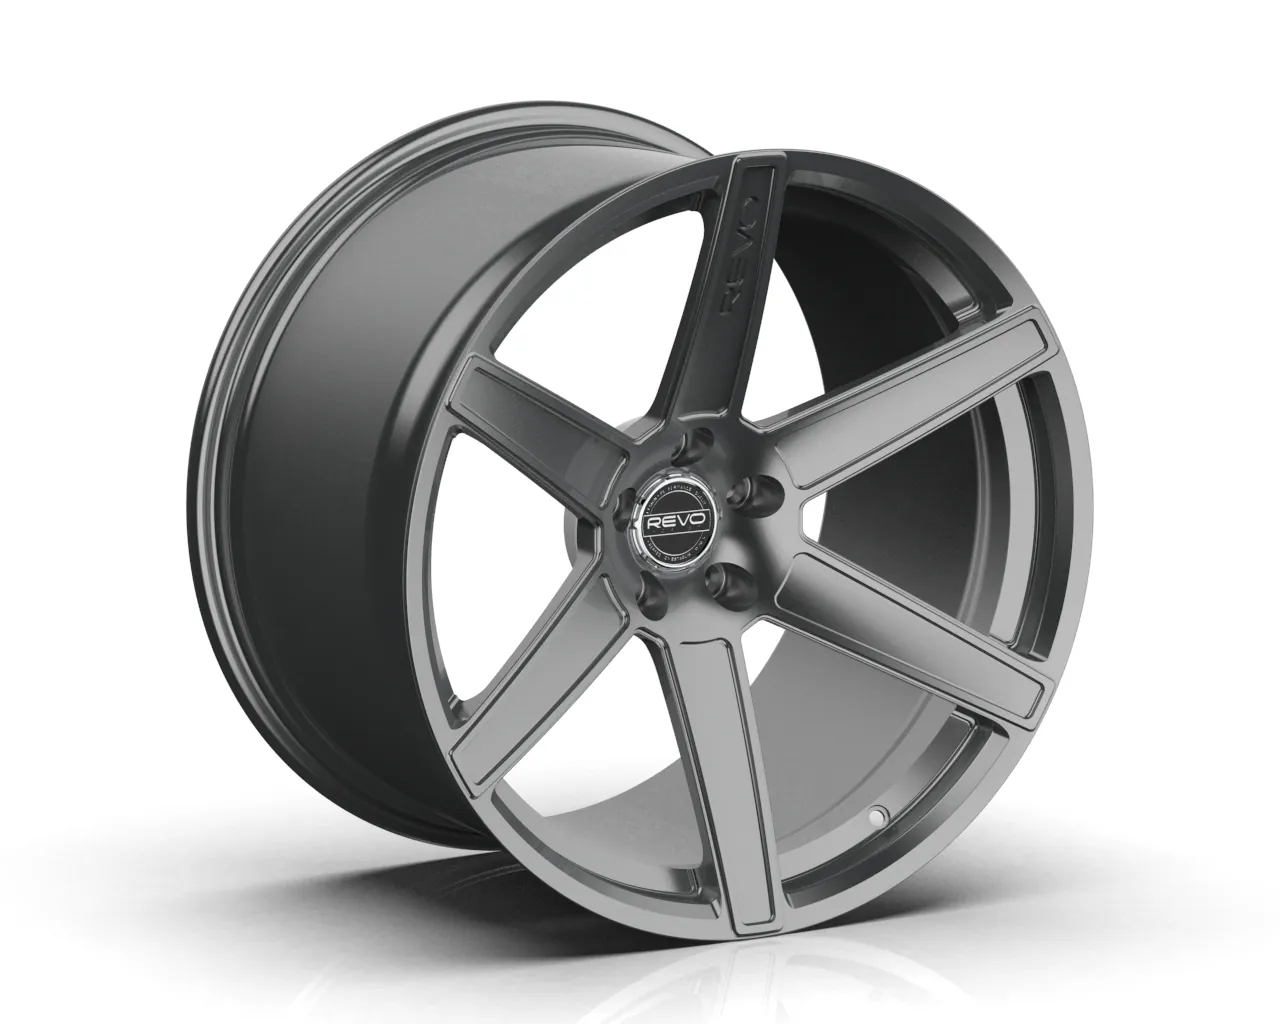
Backspacing measures from the hub mounting surface to the inner edge of the wheel. It is usually expressed in inches, while offset is normally expressed in millimeters. Discount Tire’s offset and backspacing guide shows the job each measurement performs: offset compares the mounting surface to the wheel centerline, while backspacing describes the room the wheel takes up on the suspension side.
For a custom build, backspacing can make the clearance question easier to visualize. More backspacing places more wheel toward the suspension and brake side. Less backspacing moves more of the wheel outward. That is why two wheels with the same diameter and width can fit very differently when their offsets change.
The important correction is that backspacing does not replace offset, and offset does not replace a clearance check. A wheel can have an offset that sounds right on paper but still run into a coilover spring, a large brake caliper or the bodywork because the rest of the package changed.
What you need before measuring
The cleanest method uses a wheel without a tire. A mounted tire makes it harder to rest a straightedge squarely across the wheel and can hide the rim edges you need for a dependable measurement. Gather a straightedge longer than the wheel diameter, a ruler or tape measure that reads millimeters, a calculator and a soft surface to protect the wheel face.
Before you start, inspect the back of the wheel. Many wheels have their size and offset stamped or cast into the structure. An offset marking often appears as an ET value, such as ET35, which means 35 mm positive offset. A stamped marking is a helpful reference, but measure carefully if the wheel has been repaired, modified or does not have a clear marking.
Also write down the wheel width and diameter. Wheel width is often listed as part of a size such as 19x9.5. That catalog width is measured at the bead seats, not necessarily across the outer lips. The measurement you take for the formula needs to account for the whole wheel width from outer lip to inner lip.
How to measure wheel offset step by step
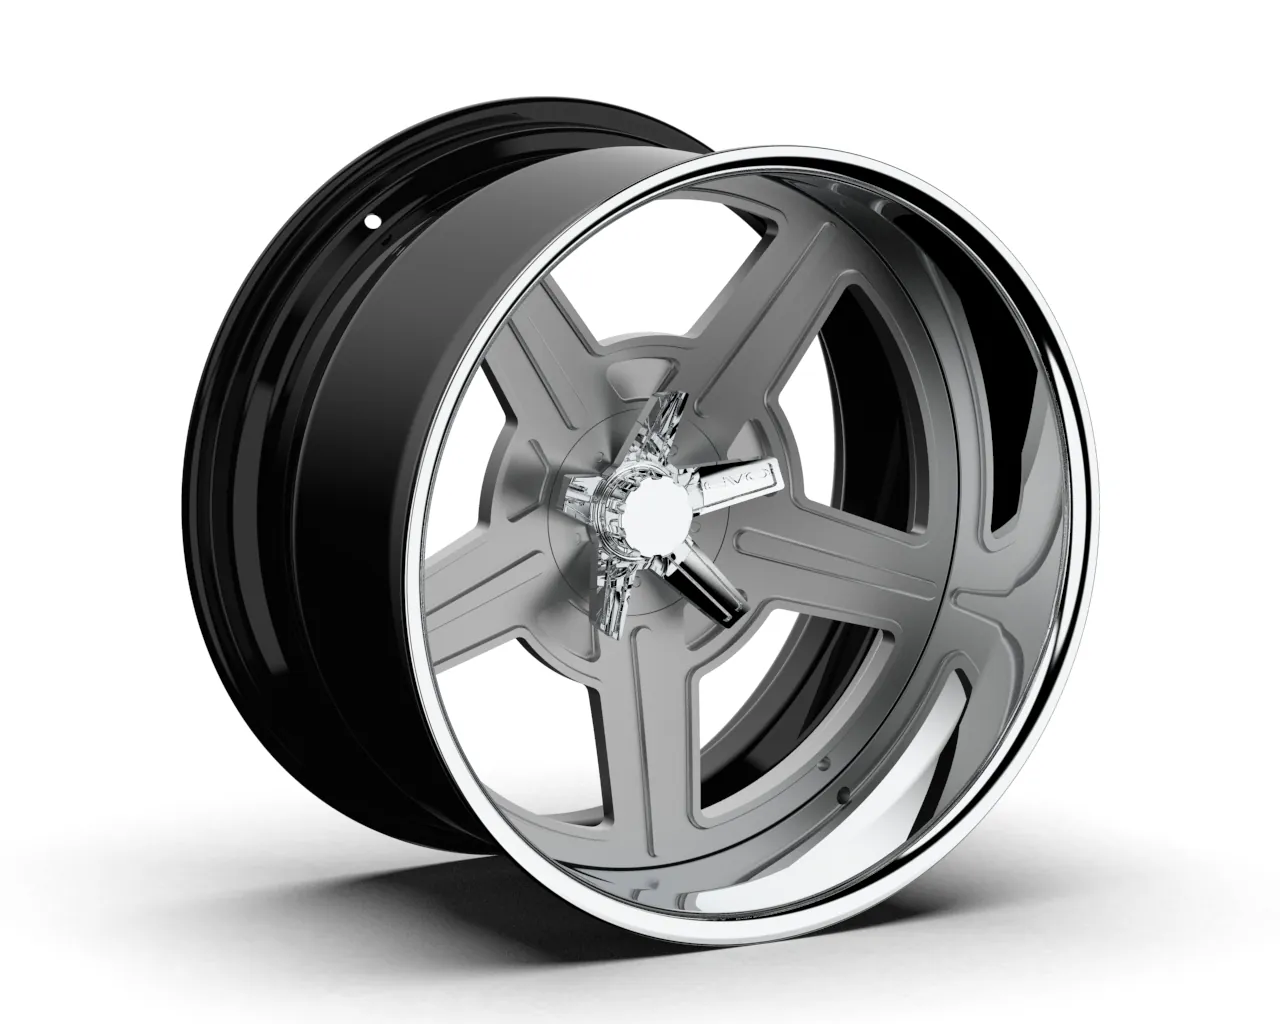
1. Measure the full wheel width
Lay the wheel face down on a protected surface. Measure straight across from the outside edge of one rim lip to the outside edge of the other. Record the full width in millimeters. If you measure in inches, convert the result by multiplying by 25.4.
2. Find the centerline
Divide the full measured width by two. For example, if the wheel measures 254 mm lip to lip, its centerline is 127 mm from either outer edge. This centerline is the reference point that tells you whether the hub mounting surface sits toward the face, on center or toward the back of the wheel.
3. Measure the backspacing
Turn the wheel over so the back side faces up. Place the straightedge across the rear rim lip, making sure it rests evenly on both sides. Measure straight down from the underside of the straightedge to the hub mounting surface. That measurement is the wheel’s backspacing. Keep it in millimeters for the final calculation.
4. Calculate the offset
Subtract the centerline from the backspacing: offset = backspacing minus centerline. If backspacing is larger than the centerline, the result is positive offset. If it is smaller, the result is negative offset. Performance Plus Tire’s measurement walkthrough illustrates the same calculation and the millimeter conversion needed when a backspacing measurement starts in inches.
5. Check the number against the whole wheel specification
Do not stop at the calculation. Confirm the result alongside wheel width, tire size, bolt pattern, center bore, brake profile and the vehicle’s suspension setup. The number is only useful when it describes a wheel and tire package that can turn, compress and drive without contact where contact does not belong.
How wheel width changes the answer
Offset gets misunderstood most often when a wheel gets wider. If you keep the same offset and add width, that added width spreads toward both the inside and outside of the car. Half moves closer to the suspension, and half moves closer to the fender. That can be enough to create a rubbing problem even though the offset number never changed.
For example, moving from a 9-inch wheel to a 10-inch wheel adds roughly 25.4 mm of total width. With the same offset, roughly half of that added width moves inward and half outward. Changing offset at the same time can rebalance where the added width goes, but it needs to be planned around the car rather than chosen only for a flush visual.
This is also why a fitment reference from a similar vehicle is useful but not conclusive. A big-brake kit, coilovers, air suspension, a lowered ride height or a different tire shoulder can change the available space. The closer a build gets to the fender or suspension, the less room there is for a generic recommendation.
Clearance checks that matter before you order
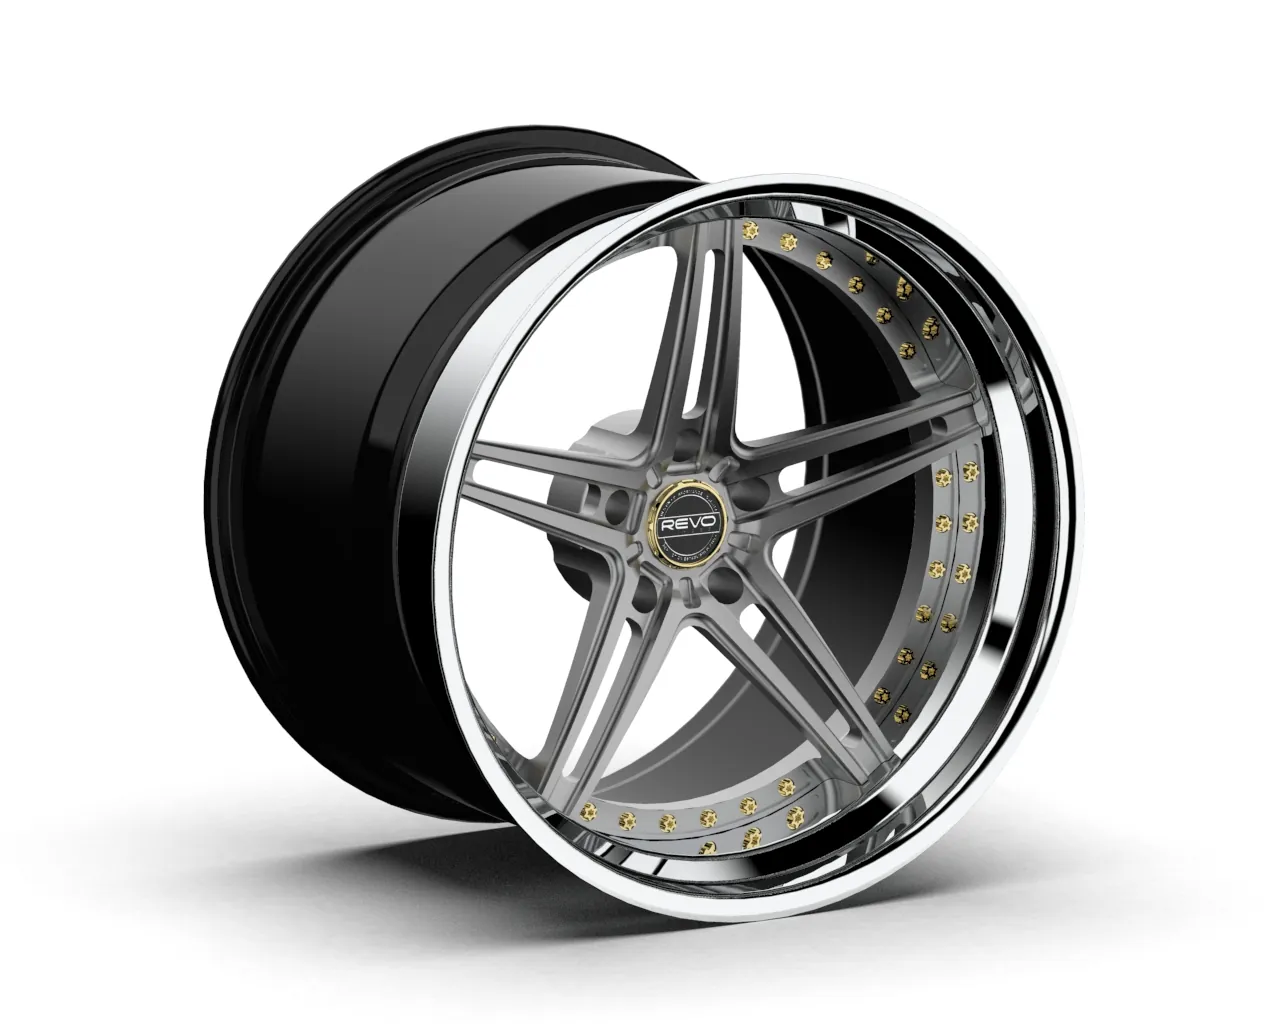
There are two directions to protect: inside clearance and outside clearance. On the inside, look at the brake caliper, rotor hat, strut, coilover spring, control arms and any steering components near the wheel. On the outside, look at the fender, liner, bumper edge and the tire’s path during steering and suspension compression.
The right wheel also needs to clear at the moments a parked car cannot show you. Turn the steering from lock to lock. Consider how the suspension moves under braking, bumps and passengers. A lowered car can look perfect at rest and rub under compression. A truck with a wider tire can look fine straight ahead and catch a liner at full lock.
Tire selection belongs in the same conversation. The National Highway Traffic Safety Administration’s tire safety guidance is a useful reminder that tire loading, inflation and condition are functional concerns, not finishing details. The wheel and tire must work together for the way the vehicle is actually used.
Common offset mistakes to avoid
The first mistake is copying an offset number without copying the full wheel and tire package around it. A wheel that works at 19x9.5 ET35 may not work at 20x10.5 ET35, even though the offset is unchanged. The extra width goes somewhere, and both inner suspension clearance and outer fender clearance need to be checked again.
The second mistake is measuring only the wheel lip or using the catalog width as the full outside-to-outside width. A wheel’s stated width is measured at the bead seats, while the lip-to-lip measurement is wider. That difference is exactly why measuring the wheel you have, then using the same reference points throughout the calculation, produces a more useful result.
Another common error is treating a spacer as a cure-all. A spacer effectively moves the wheel outward by its thickness, so it changes the effective offset. That can solve one inner-clearance issue while creating an outer-clearance issue at the fender, and it does not create brake-spoke clearance if the wheel face is the limiting factor. Any change to the mounting stack deserves the same attention to hardware, hub engagement and vehicle-specific fitment as the wheel itself.
Finally, do not make the decision from a static photo alone. The car has to steer, carry passengers, hit a driveway and move through suspension travel. A fitment that is aggressive but usable is defined by clearance through those real conditions, not only by how flush the wheel looks while the car is parked. Measure the wheel, document the vehicle changes and treat the final specification as a whole system.
When a measurement is not enough
Measuring an existing wheel is valuable when you want to preserve a fitment that already works. It gives you a starting point for comparing a new wheel, a different width or a new tire plan. It is less reliable when the car is changing in meaningful ways at the same time.
Brake upgrades can need a different spoke profile even when width and offset remain close. Coilovers may reduce inner clearance. Wider tires may need more room at the outer fender. A body kit, wide-body conversion or a different ride height can change the dimensions completely. Those are not edge cases in custom-wheel work. They are the reason a real fitment plan is worth more than copying a number from another car.
That distinction matters whether you are considering a clean street setup, a deep-lip three-piece look or a tailored truck stance. Compare the construction choices in REVO’s three-piece versus one-piece wheel guide, then use the actual vehicle details to decide what dimensions make sense.
How REVO turns measurements into a complete wheel package
REVO starts with more than diameter and offset. The vehicle year, make, model and trim matter, along with brake changes, suspension, tire plan, intended use and the visual direction of the build. That gives the team the information needed to consider clearance, proportions, spoke profile and finish as one package.
Start by exploring the REVO wheel collection and the available construction options. Truck owners can also see how REVO approaches tire direction, ride height and clearance in the forged truck wheels guide. When you are ready to turn your measurements into a specification, use the fitment quote form and include the changes already made to the vehicle.
A precise offset measurement is useful. A complete fitment plan is what makes a custom wheel feel like it was designed for the car from the start.
Frequently asked questions
Can I measure wheel offset with the tire still on?
You can estimate it, but a bare wheel gives a much more reliable measurement. The tire sidewall and bead make it harder to place a straightedge correctly across the wheel and to measure the mounting pad accurately.
Is backspacing the same as wheel offset?
No. Backspacing measures from the hub mounting surface to the inner wheel lip, while offset measures the mounting surface relative to the wheel centerline. They describe the same wheel position from different reference points and use different units.
How do I find the offset on a wheel?
Check the back of the wheel first. Many wheels are stamped with an ET value, such as ET35, which means 35 mm positive offset. If there is no clear marking or the wheel has been modified, measure the full width and backspacing to calculate it.
Does a lower offset make a wheel stick out more?
With wheel width held constant, reducing positive offset moves the wheel outward. But wheel width changes both the inner and outer position too, so offset should always be evaluated with the full wheel and tire specification.
What information should I provide for a custom wheel quote?
Start with the exact year, make, model and trim, then include brake upgrades, suspension changes, current or planned tire size, the vehicle’s intended use and photos showing the stance you want. Those details make it possible to evaluate the whole fitment instead of guessing from one wheel number.