Wheel spacers get a blunt answer online. Some people call them dangerous. Others treat them as a harmless way to make a wheel sit flush. The useful answer is more specific: a spacer changes where the wheel sits, so its safety depends on the exact component, the mounting hardware, the vehicle and the clearance around the whole wheel-and-tire package.
A quality spacer can be part of a properly planned setup. It can also turn a barely understood fitment into a problem if it is used to force a wheel onto a vehicle without checking the basics. Before changing a wheel’s position, understand what the spacer does, what it does not solve and when a purpose-built wheel is the better route.
What a wheel spacer actually changes
A wheel spacer is a precisely machined part that sits between the hub and wheel mounting face. Its direct job is simple: it moves the wheel outward by its thickness. A 10 mm spacer moves the wheel 10 mm outward. A 20 mm spacer moves it 20 mm outward.
That movement creates more room on the inboard side, near the strut, control arm or brake components. At the same time, it uses more room on the outboard side, toward the fender, wheel arch, bumper liner and steering path. It can improve one clearance while creating another, which is why a spacer should never be chosen from photos alone.
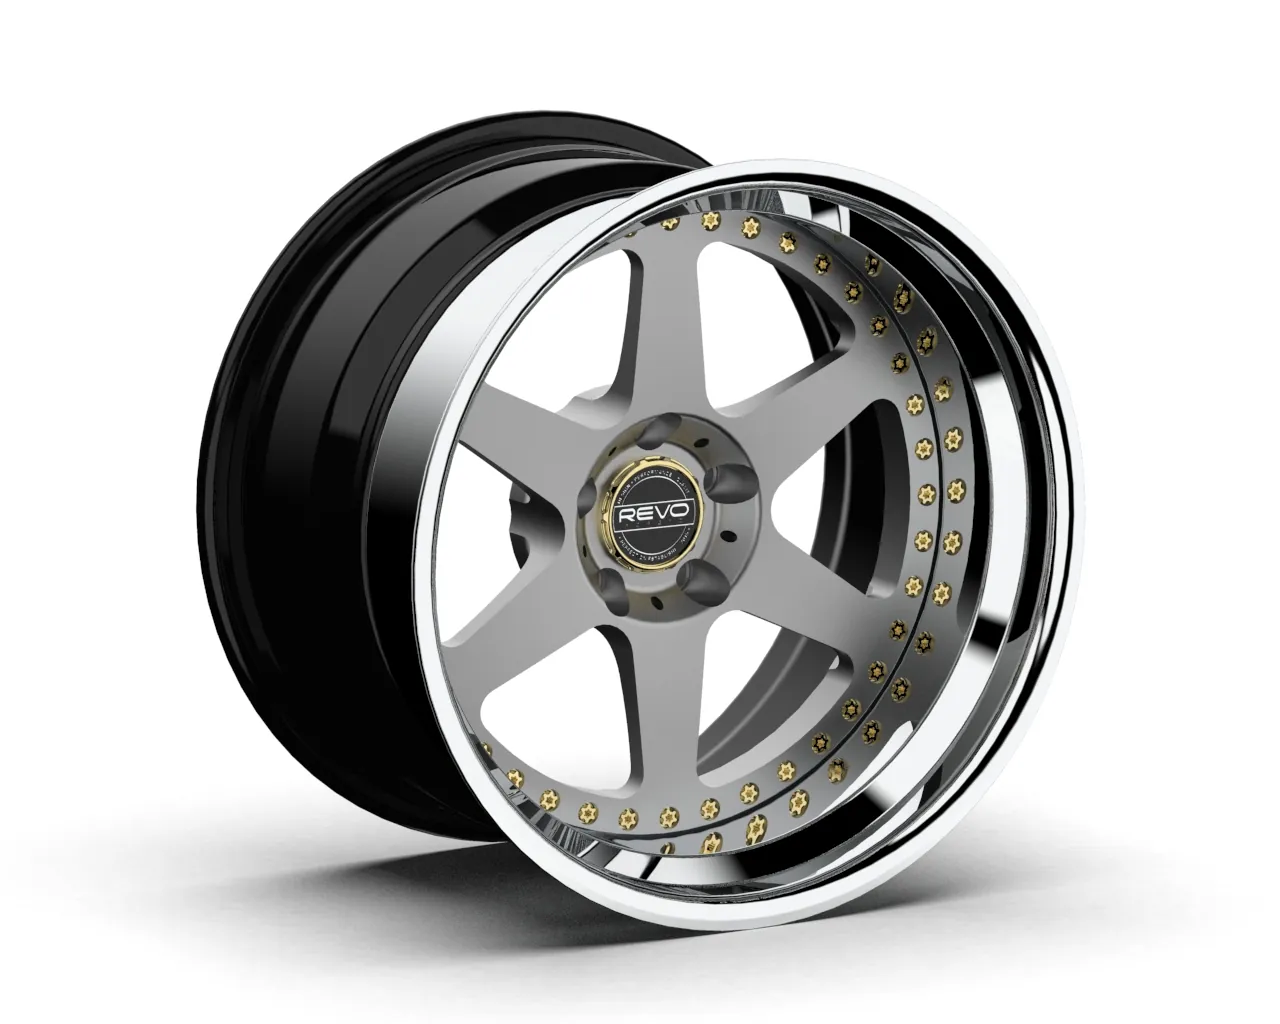
In offset terms, pushing the wheel outward reduces positive offset by the spacer thickness. A wheel at +45 mm with a 15 mm spacer sits similarly to a +30 mm wheel, provided all the other dimensions remain compatible. REVO’s wheel-offset guide explains how to locate and measure that number before relying on it.
That comparison is useful, but it is not a guarantee that a wheel with a different offset and a wheel-plus-spacer arrangement behave identically. The wheel face, barrel, hub interface, hardware and tire can all change the result. Treat the spacer thickness as one clear movement in the fitment calculation, then confirm the physical parts in front of you.
Why “safe” is not a yes-or-no answer
A wheel mounting system relies on clean, flat mating surfaces, correct hardware engagement and the specified clamping force. Adding a spacer introduces another component into that assembly. That does not make the setup inherently unsafe, but it raises the standard for selecting and installing each part correctly.
The first question is whether the spacer is made for the vehicle’s hub and the wheel’s mounting arrangement. The second is whether the fasteners, seats and thread engagement remain correct. The third is whether the wheel and tire clear everything through suspension travel and full steering lock. Skip any one of those checks and the fact that the wheel bolts on tells you very little.
Wheel safety also is not only about whether a vehicle can roll out of the driveway. The National Highway Traffic Safety Administration’s tire-safety guidance emphasizes that tires, loading, condition and installation all matter to vehicle safety. A spacer decision belongs in that same mindset, not in a cosmetic shortcut.
The vehicle’s intended use changes the decision too. A weekend show car, a daily commuter, a track car, a truck that tows and a vehicle that sees rough trails put different demands on a wheel-and-tire assembly. There is no responsible universal spacer thickness. The right answer begins with the available clearance and the complete job the vehicle has to do.
Hub-centric and lug-centric spacer designs
A hub-centric spacer is designed to locate on the raised pilot at the vehicle hub and provide a matching pilot for the wheel. When the dimensions are correct, it gives the wheel a clear, repeatable location during installation. That is the same principle behind a vehicle-specific wheel center bore.
A lug-centric arrangement relies more heavily on the lug hardware to center the wheel during installation. That can be less forgiving, especially when the vehicle, spacer and wheel do not share a precise locating relationship. For a performance-oriented or custom application, the goal should be a deliberate hub-and-wheel interface, not a generic part that happens to pass over the studs.
The center-bore guide explains why the hub pilot matters. A hub-centric spacer still needs exact dimensions on both sides. It cannot compensate for the wrong bolt pattern, incorrect lug-seat style, questionable material quality or a wheel that does not have adequate brake clearance.
Slip-on spacers and bolt-on spacers solve different problems
Thin slip-on spacers slide over the existing studs or bolts. They can be useful for a small, verified change in clearance, but the wheel hardware must still have the correct engagement after the spacer is added. The amount of available stud length, the hardware design and the vehicle manufacturer’s requirements all matter.
Thicker bolt-on spacers attach to the hub first, then provide their own studs or threaded locations for the wheel. They are a different system, not simply a thicker ring. The mounting face has to sit perfectly flush, the original hardware must be appropriate for the inner connection and the wheel must fit correctly over the spacer’s outer pilot and hardware.
Do not stack spacers to reach a desired stance. More parts mean more surfaces to inspect, more potential fitment conflicts and less certainty around hardware engagement. If a large move is needed, it is time to review the wheel’s width and offset rather than building a tower of compromises behind it.
Do not assume a thicker part is a better part. Thickness only describes how far the wheel moves. It does not tell you whether the spacer has the correct pilot dimensions, whether the wheel clears its hardware or whether the tire will still work beneath the fender. Those are separate questions that need separate answers.
Clearance is the decision, not the spacer size
A spacer is often used because an existing wheel touches or approaches a strut, brake caliper or suspension arm. Moving outward may solve that inner issue, but the wheel and tire now travel closer to the fender and bodywork. On a lowered vehicle, a wider tire or a wheel with a pronounced shoulder, that remaining outer clearance can disappear quickly.
Check the vehicle at normal ride height, at full steering lock and through the suspension movement it will see in use. Consider passengers, cargo, towing, track compression and off-road articulation where relevant. A setup that clears while parked can still rub once the tire moves upward or changes direction under load.
Use a known-good wheel as the starting point whenever possible. Record its diameter, width, offset, tire size and the physical room around it. Then compare the proposed change on both sides. The wheel offset versus backspacing guide makes that comparison more useful than copying a fitment from a similar vehicle online.
What can go wrong with an improvised setup
Vibration, rubbing, damaged threads, a wheel that does not sit flush and fasteners that cannot be torqued correctly are all reasons to stop and reassess. They are not small details to ignore because the stance looks right. Any new vibration after wheel work deserves a prompt inspection of the wheel, hub, spacer, hardware and tire condition.
Changing wheel position also affects the relationship between the tire contact patch and steering geometry. That can influence steering feel, kickback and loads on components over time. The effect depends on the vehicle and the amount of change, which is another reason to treat a spacer as a fitment decision rather than a universal accessory.
A wheel spacer is also not an adapter for a mismatched wheel. If bolt pattern, center bore, lug seat, brake clearance or load suitability do not match, one component cannot responsibly erase the problem. A custom wheel specification is often the cleaner answer when several dimensions need to move together.
Pay attention to the mounting surfaces as well. Rust scale, paint buildup, dirt or damage can keep a spacer or wheel from seating flat. Hardware should never be used to pull an assembly through a visible gap. If the surfaces do not meet cleanly by hand before the final tightening procedure, the fitment needs attention before the vehicle goes back on the road.
How to approach installation without guessing
Start with the instructions supplied for the exact vehicle-specific component. Wheel hardware is not a place to borrow a generic torque figure from a forum or use a different seat shape because it seems close. Confirm whether the vehicle uses studs and nuts or wheel bolts, then match the thread, seat and engagement requirements to the parts in the assembly.
With the vehicle safely supported, inspect the hub, pilot and mounting face before fitting anything. The spacer should sit completely flush on the hub. The wheel should then sit completely flush on the spacer. Check that no original stud or bolt interferes with the wheel’s back pad, and that the wheel has the expected contact area around the mounting face.
Install and tighten hardware in the sequence and to the specification supplied for the vehicle and spacer system. Avoid treating an impact wrench as the final measuring tool. A calibrated torque wrench and the proper procedure provide a more reliable final check. Afterward, follow the component maker’s guidance for any recheck interval, and inspect the setup any time wheels are removed for tire work or service.
A practical checklist before adding spacers
- Confirm the exact vehicle. Year, make, model, trim, axle, brake package and suspension changes can alter the fitment.
- Measure the starting setup. Record wheel diameter, width, offset, tire size and the clearance you are trying to create.
- Match the mounting interface. Verify hub diameter, bolt pattern, lug-seat type and the spacer’s vehicle and wheel pilots.
- Follow the hardware procedure. Use the correct hardware, tightening sequence and torque specification for the vehicle and component manufacturer.
- Check the full range of movement. Inspect inside and outside clearance at steering lock and suspension travel, not just at ride height.
- Reinspect after installation. Follow the manufacturer’s recheck guidance and investigate vibration, rubbing or unusual wheel behavior immediately.
When a custom wheel is the better solution
A spacer can make sense for a modest, fully verified adjustment on an existing wheel. It is less compelling when the build also needs a different width, deeper lip, brake profile, tire plan or overall stance. In that situation, specifying the wheel around the car can reduce compromises and keep the mounting interface straightforward.
REVO starts with the vehicle, brakes, suspension, tire plan and intended use, then considers width, offset, construction and finish together. Explore the REVO wheel collection for design direction, or compare the choices in the wheel construction guide. When you are ready to plan the setup around your actual vehicle, the fitment quote form is the right place to share the details.
Frequently asked questions
Are wheel spacers safe for daily driving?
A spacer is not automatically safe or unsafe. A daily-driven vehicle needs a spacer that is made for its hub, bolt pattern and wheel, uses the right hardware and is installed to the vehicle manufacturer’s procedure. If any of those checks are uncertain, stop and have the complete fitment reviewed.
Do wheel spacers change offset?
Yes, a spacer moves the wheel outward by the spacer thickness. A 15 mm spacer behind a wheel effectively reduces its positive offset by 15 mm, which can improve inboard clearance while reducing fender clearance.
Are hub-centric spacers better?
A spacer designed to locate precisely on the vehicle hub and provide the matching wheel pilot is generally the more controlled fitment approach. It still must match the exact hub and wheel dimensions, and it does not replace correct hardware, torque or clearance checks.
Can I stack wheel spacers?
No. Stacking parts adds interfaces, changes hardware engagement and makes the fitment harder to verify. If the needed position cannot be achieved with one correctly engineered component, the wheel specification should be reconsidered.
Will a spacer fix tire rubbing?
It can create more clearance on the suspension side, but it moves the tire closer to the fender, bumper liner and steering path. It is not a universal rubbing fix. Check the entire range of steering and suspension movement before treating the problem as solved.